Hey, learner today In this blog post, We will be Creating a Theme Clock Digital & Analog Using HTML CSS & Javascript. In the past post, we have created many projects one of them Responsive Background Slider Using HTML CSS & Javascript. Now it is time to create a Theme Clock Digital & Analog.
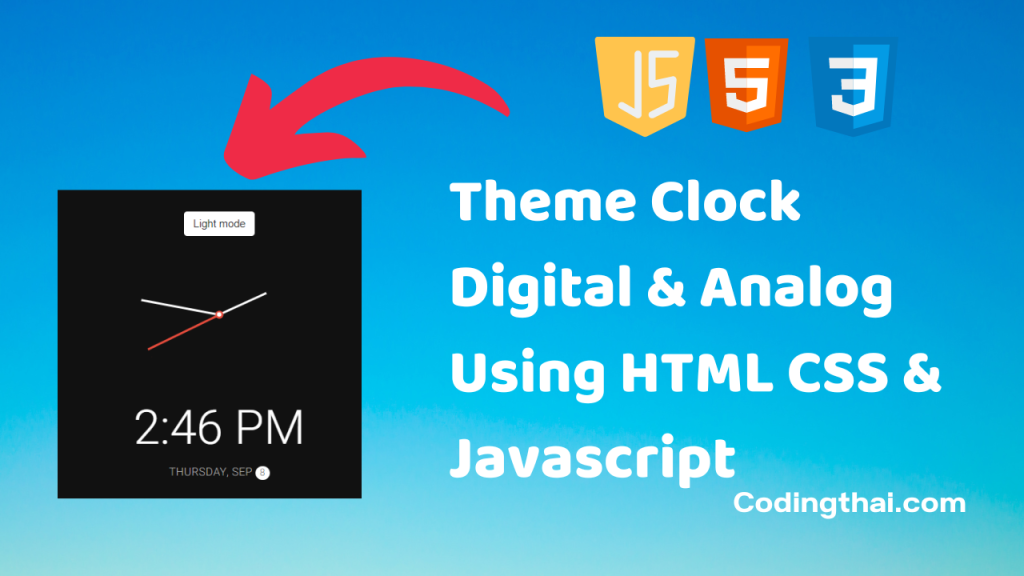
Theme clock Digital & Analog is a clock-based web project. This is a simple clock that displays real-time based information from the real clock. It is easy to use and implement on the website. This web project has a user-friendly interface. The project has a Light mode & Dark mode option. Clicking on the dark mode button switches to dark. The background changes while switching the modes. It displays a working analog and digital clock at the same time. It also displays the AM and PM, month, day, and date.
For creating the Theme clock First, we have selected the hour, minute, and second from HTML. To get the real-time we have used the Date() object provided by the JavaScript. This will give the real-time seconds, minutes, and hours respectively. Now, we have got our hour, minute, and second, and we know that the clock rotates 360. So, we will convert the rotation of the hands of the clock into degrees.
Preview of Theme Clock Digital & Analog on Codepen
You might like this
- Responsive Movie App Project Using HTML CSS & Javascript
- Daily Drink Water Goal Project Using HTML CSS & Javascript
- Animated Navigation Bar Using HTML CSS & Javascript
- Responsive FAQ Collapse using HTML, CSS, and JS
- Dad Jokes Project using HTML, CSS, and JS
Theme Clock Digital & Analog Using HTML CSS & Javascript [Source code]
To create a Theme Clock Digital & Analog Using HTML CSS & Javascript. At first, you have to create three files (HTML, CSS, and JS) files with the named index.html, style.css, and Script.js in the same folder and you have to link the CSS and JS files to HTML. after that paste, the HTML code in index.html, and paste the CSS code in style.css at last paste the Javascript code in Script.js that’s all after pasting the code.
At first, you have to create an HTML file with the named index.html and paste the below HTML code on it and save it. Remember to give a .html extension to the HTML file.
<!DOCTYPE html>
<!--Codingthai.com-->
<html lang="en">
  <head>
    <meta charset="UTF-8" />
    <meta name="viewport" content="width=device-width, initial-scale=1.0" />
    <link rel="stylesheet" href="style.css" />
    <title>Theme Clock</title>
  </head>
  <body>
    <!-- Inspired by this dribbble shot https://dribbble.com/shots/5958443-Alarm-clock -->

    <button class="toggle">Dark mode</button>

    <div class="clock-container">
      <div class="clock">
        <div class="needle hour"></div>
        <div class="needle minute"></div>
        <div class="needle second"></div>
        <div class="center-point"></div>
      </div>

      <div class="time"></div>
      <div class="date"></div>
    </div>

    <script src="script.js"></script>
  </body>
</html>
After pasting the HTML code, Now have to create a second CSS file with the named style.css. Paste the below code on it and save it. Again remember to give .css extension to CSS file.
@import url('https://fonts.googleapis.com/css?family=Heebo:300&display=swap');

* {
  box-sizing: border-box;
}

:root {
  --primary-color: #000;
  --secondary-color: #fff;
}

html {
  transition: all 0.5s ease-in;
}

html.dark {
  --primary-color: #fff;
  --secondary-color: #333;
}

html.dark {
  background-color: #111;
  color: var(--primary-color);
}

body {
  font-family: 'Heebo', sans-serif;
  display: flex;
  align-items: center;
  justify-content: center;
  height: 100vh;
  overflow: hidden;
  margin: 0;
}

.toggle {
  cursor: pointer;
  background-color: var(--primary-color);
  color: var(--secondary-color);
  border: 0;
  border-radius: 4px;
  padding: 8px 12px;
  position: absolute;
  top: 100px;
}

.toggle:focus {
  outline: none;
}

.clock-container {
  display: flex;
  flex-direction: column;
  justify-content: space-between;
  align-items: center;
}

.clock {
  position: relative;
  width: 200px;
  height: 200px;
}

.needle {
  background-color: var(--primary-color);
  position: absolute;
  top: 50%;
  left: 50%;
  height: 65px;
  width: 3px;
  transform-origin: bottom center;
  transition: all 0.5s ease-in;
}

.needle.hour {
  transform: translate(-50%, -100%) rotate(0deg);
}

.needle.minute {
  transform: translate(-50%, -100%) rotate(0deg);
  height: 100px;
}

.needle.second {
  transform: translate(-50%, -100%) rotate(0deg);
  height: 100px;
  background-color: #e74c3c;
}

.center-point {
  background-color: #e74c3c;
  width: 10px;
  height: 10px;
  position: absolute;
  top: 50%;
  left: 50%;
  transform: translate(-50%, -50%);
  border-radius: 50%;
}

.center-point::after {
  content: '';
  background-color: var(--primary-color);
  width: 5px;
  height: 5px;
  position: absolute;
  top: 50%;
  left: 50%;
  transform: translate(-50%, -50%);
  border-radius: 50%;
}

.time {
  font-size: 60px;
}

.date {
  color: #aaa;
  font-size: 14px;
  letter-spacing: 0.3px;
  text-transform: uppercase;
}

.date .circle {
  background-color: var(--primary-color);
  color: var(--secondary-color);
  border-radius: 50%;
  height: 18px;
  width: 18px;
  display: inline-flex;
  align-items: center;
  justify-content: center;
  line-height: 18px;
  transition: all 0.5s ease-in;
  font-size: 12px;
}
At last, you have to create a Javascript file with the named script.js and paste the Js code on it and save it again don’t forget to give the .js extension to the Javascript file.
const hourEl = document.querySelector('.hour')
const minuteEl = document.querySelector('.minute')
const secondEl = document.querySelector('.second')
const timeEl = document.querySelector('.time')
const dateEl = document.querySelector('.date')
const toggle = document.querySelector('.toggle')

const days = ["Sunday", "Monday", "Tuesday", "Wednesday", "Thursday", "Friday", "Saturday"];
const months = ["Jan", "Feb", "Mar", "Apr", "May", "Jun", "Jul", "Aug", "Sep", "Oct", "Nov", "Dec"];

toggle.addEventListener('click', (e) => {
    const html = document.querySelector('html')
    if (html.classList.contains('dark')) {
        html.classList.remove('dark')
        e.target.innerHTML = 'Dark mode'
    } else {
        html.classList.add('dark')
        e.target.innerHTML = 'Light mode'
    }
})

function setTime() {
    const time = new Date();
    const month = time.getMonth()
    const day = time.getDay()
    const date = time.getDate()
    const hours = time.getHours()
    const hoursForClock = hours >= 13 ? hours % 12 : hours;
    const minutes = time.getMinutes()
    const seconds = time.getSeconds()
    const ampm = hours >= 12 ? 'PM' : 'AM'

    hourEl.style.transform = `translate(-50%, -100%) rotate(${scale(hoursForClock, 0, 12, 0, 360)}deg)`
    minuteEl.style.transform = `translate(-50%, -100%) rotate(${scale(minutes, 0, 60, 0, 360)}deg)`
    secondEl.style.transform = `translate(-50%, -100%) rotate(${scale(seconds, 0, 60, 0, 360)}deg)`

    timeEl.innerHTML = `${hoursForClock}:${minutes < 10 ? `0${minutes}` : minutes} ${ampm}`
    dateEl.innerHTML = `${days[day]}, ${months[month]} <span class="circle">${date}</span>`
}

// StackOverflow https://stackoverflow.com/questions/10756313/javascript-jquery-map-a-range-of-numbers-to-another-range-of-numbers
const scale = (num, in_min, in_max, out_min, out_max) => {
    return (num - in_min) * (out_max - out_min) / (in_max - in_min) + out_min;
}

setTime()

setInterval(setTime, 1000)
That’s all after pasting the code now your code will be successfully run. If you get any kind of error/problem in the code just comment down or contact me
4 thoughts on “Theme Clock Digital & Analog Using HTML CSS & Javascript”