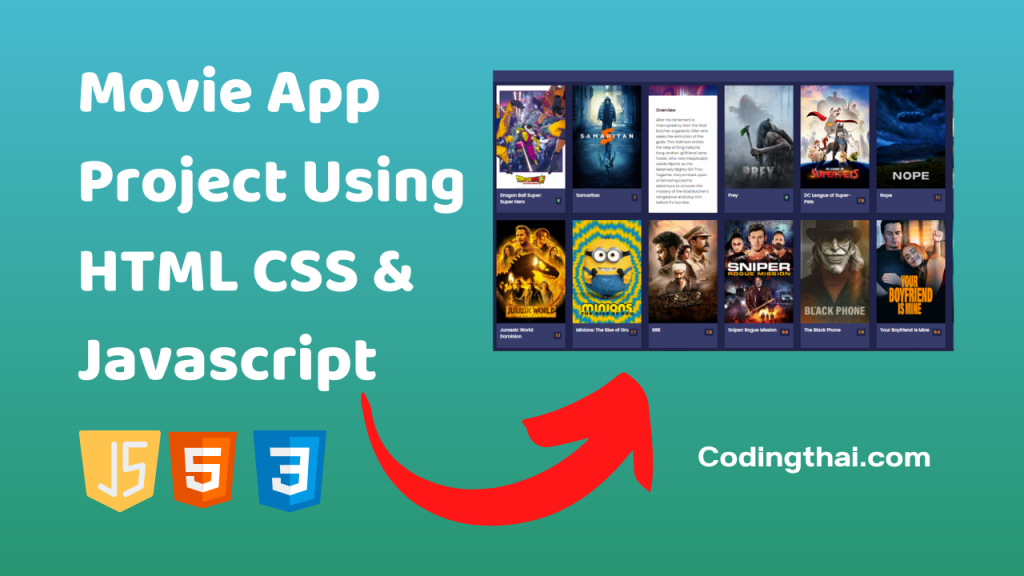
Hey, learner today In this blog post, We will be Creating a Movie App Project Using HTML CSS & Javascript. In the past post, we have created many projects one of them Responsive Increment Counter Using HTML CSS & Javascript. Now it is time to create a Movie App.
This project is a “Movie APP” where the main goal provided to the user is to watch all the latest movies trailer, as well as the primary goal, is to book a movie ticket online. This website is Created by using HTML, CSS, and JAVASCRIPT to obtain the final result. A user can find the all movies on the home page, and upcoming movies are coming soon.
Movies that are playing in the cinema halls are listed in theaters, and on the contact page, the user can book a movie. At the top of the home page, the user can find the login and registration page where a user can register their details to log in to the website. Each and every form page are well validated by this website but still, it doesn’t store the registered user information.
Preview of Movie App on Codepen
You might like this
- Animated Navigation Bar Using HTML CSS & Javascript
- Responsive FAQ Collapse using HTML, CSS, and JS
- Dad Jokes Project using HTML, CSS, and JS
- Responsive Login Form using HTML and CSS 3
- Split Landing Page Using HTML, CSS, and JS
Movie App Project Using HTML CSS & Javascript [Source code]
To create a Movie App Project Using HTML CSS & Javascript. At first, you have to create three files (HTML, CSS, and JS) files with the named index.html, style.css, and Script.js in the same folder and you have to link the CSS and JS files to HTML. after that paste, the HTML code in index.html, and paste the CSS code in style.css at last paste the Javascript code in Script.js that’s all after pasting the code.
At first, you have to create an HTML file with the named index.html and paste the below HTML code on it and save it. Remember to give a .html extension to the HTML file.
<!DOCTYPE html>
<!--Codingthai.com-->
<html lang="en">
  <head>
    <meta charset="UTF-8" />
    <meta name="viewport" content="width=device-width, initial-scale=1.0" />
    <link rel="stylesheet" href="style.css" />
    <title>Movie App</title>
  </head>
  <body>
    <header>
      <form id="form">
        <input type="text" id="search" class="search" placeholder="Search">
      </form>
    </header>

    <main id="main"></main>

    <script src="script.js"></script>
  </body>
</html>
After pasting the HTML code, Now have to create a second CSS file with the named style.css. Paste the below code on it and save it. Again remember to give .css extension to CSS file.
@import url('https://fonts.googleapis.com/css2?family=Poppins:wght@200;400&display=swap');

:root {
  --primary-color: #22254b;
  --secondary-color: #373b69;
}

* {
  box-sizing: border-box;
}

body {
  background-color: var(--primary-color);
  font-family: 'Poppins', sans-serif;
  margin: 0;
}

header {
  padding: 1rem;
  display: flex;
  justify-content: flex-end;
  background-color: var(--secondary-color);
}

.search {
  background-color: transparent;
  border: 2px solid var(--primary-color);
  border-radius: 50px;
  font-family: inherit;
  font-size: 1rem;
  padding: 0.5rem 1rem;
  color: #fff;
}

.search::placeholder {
  color: #7378c5;
}

.search:focus {
  outline: none;
  background-color: var(--primary-color);
}

main {
  display: flex;
  flex-wrap: wrap;
  justify-content: center;
}

.movie {
  width: 300px;
  margin: 1rem;
  background-color: var(--secondary-color);
  box-shadow: 0 4px 5px rgba(0, 0, 0, 0.2);
  position: relative;
  overflow: hidden;
  border-radius: 3px;
}

.movie img {
  width: 100%;
}

.movie-info {
  color: #eee;
  display: flex;
  align-items: center;
  justify-content: space-between;
  gap:0.2rem;
  padding: 0.5rem 1rem 1rem;
  letter-spacing: 0.5px;
}

.movie-info h3 {
  margin-top: 0;
}

.movie-info span {
  background-color: var(--primary-color);
  padding: 0.25rem 0.5rem;
  border-radius: 3px;
  font-weight: bold;
}

.movie-info span.green {
  color: lightgreen;
}

.movie-info span.orange {
  color: orange;
}

.movie-info span.red {
  color: red;
}

.overview {
  background-color: #fff;
  padding: 2rem;
  position: absolute;
  left: 0;
  bottom: 0;
  right: 0;
  max-height: 100%;
  transform: translateY(101%);
  overflow-y: auto;
  transition: transform 0.3s ease-in;
}

.movie:hover .overview {
  transform: translateY(0);
}
At last, you have to create a Javascript file with the named script.js and paste the Js code on it and save it again don’t forget to give the .js extension to the Javascript file.
const API_URL = 'https://api.themoviedb.org/3/discover/movie?sort_by=popularity.desc&api_key=3fd2be6f0c70a2a598f084ddfb75487c&page=1'
const IMG_PATH = 'https://image.tmdb.org/t/p/w1280'
const SEARCH_API = 'https://api.themoviedb.org/3/search/movie?api_key=3fd2be6f0c70a2a598f084ddfb75487c&query="'

const main = document.getElementById('main')
const form = document.getElementById('form')
const search = document.getElementById('search')

// Get initial movies
getMovies(API_URL)

async function getMovies(url) {
    const res = await fetch(url)
    const data = await res.json()

    showMovies(data.results)
}

function showMovies(movies) {
    main.innerHTML = ''

    movies.forEach((movie) => {
        const { title, poster_path, vote_average, overview } = movie

        const movieEl = document.createElement('div')
        movieEl.classList.add('movie')

        movieEl.innerHTML = `
            <img src="${IMG_PATH + poster_path}" alt="${title}">
            <div class="movie-info">
          <h3>${title}</h3>
          <span class="${getClassByRate(vote_average)}">${vote_average}</span>
            </div>
            <div class="overview">
          <h3>Overview</h3>
          ${overview}
        </div>
        `
        main.appendChild(movieEl)
    })
}

function getClassByRate(vote) {
    if(vote >= 8) {
        return 'green'
    } else if(vote >= 5) {
        return 'orange'
    } else {
        return 'red'
    }
}

form.addEventListener('submit', (e) => {
    e.preventDefault()

    const searchTerm = search.value

    if(searchTerm && searchTerm !== '') {
        getMovies(SEARCH_API + searchTerm)

        search.value = ''
    } else {
        window.location.reload()
    }
})
That’s all after pasting the code now your code will be successfully run. If you get any kind of error/problem in the code just comment down or contact me
its not working i have a project on these would u please help me regrding these
I have created this project. it is working you can look in Codpen in the preview option