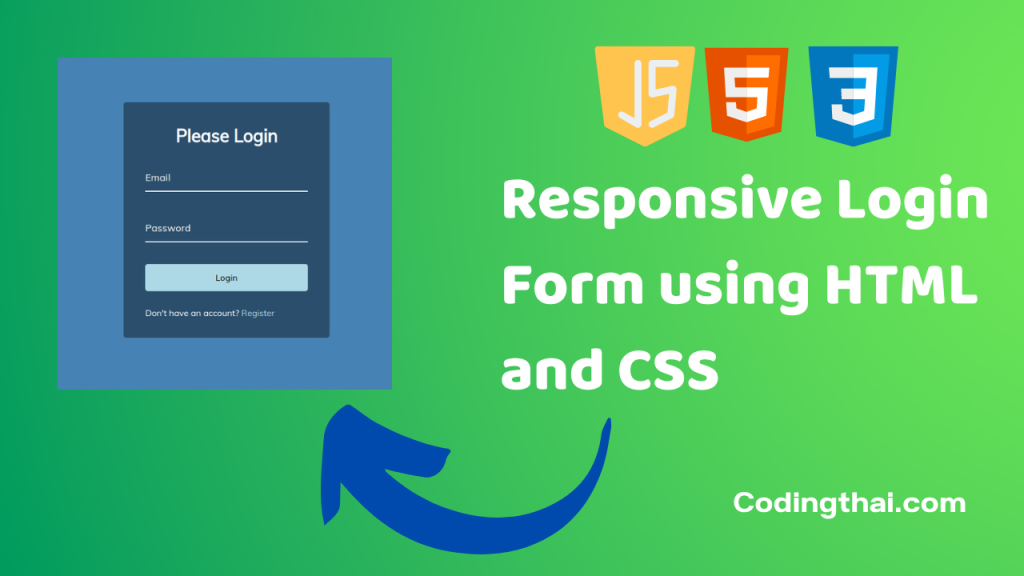
Hey, learner today In this blog post, We will be Creating a Responsive Login Form using HTML and CSS. In the past post, we have created many projects one of them Split Landing Page Using HTML, CSS, and JS. Now it is time to create Responsive Login Form.

A login form is a form used to validate the user before giving entry to any particular page. The login form includes two input fields, one is used for an email address, phone, and username and another one is used for the password.
This login page is fully responsive. We add both login and signup forms on a single page so that it will be easy to do login and signup for users. This Login form design, which uses beautiful colors & images has gained the best of beauty. On this design, there is shown on the full web page.
Preview of Split Landing Page on Codepen
You might like this
- Rotating Navigation using HTML, CSS, and JS
- Progress Steps Bar using HTML, CSS, and JS
- Hidden Search Bar using HTML, CSS, and JS
- Fixed expanding card transitions Using HTML, CSS, and JS
- Analogue Clock using HTML, CSS, and JS
Responsive Login Form using HTML and CSS [Source code]
To create a Responsive Login Form using HTML and CSS you have to create three files (HTML, CSS, and JS) files with the named index.html, style.css, and Script.js in the same folder and you have to link the CSS and JS files to HTML. after that paste, the HTML code in index.html, and paste the CSS code in style.css at last paste the Javascript code in Script.js that’s all after pasting the code.
At first, you have to create an HTML file with the named index.html and paste the below HTML code on it and save it. Remember to give a .html extension to the HTML file.
<!DOCTYPE html>
<!--Codingthai.com-->
<html lang="en">
  <head>
    <meta charset="UTF-8" />
    <meta name="viewport" content="width=device-width, initial-scale=1.0" />
    <link rel="stylesheet" href="style.css" />
    <title>Form Input Wave</title>
  </head>
  <body>
    <div class="container">
      <h1>Please Login</h1>
      <form>
        <div class="form-control">
          <input type="text" required>
          <label>Email</label>
          <!-- <label>
            <span style="transition-delay: 0ms">E</span>
              <span style="transition-delay: 50ms">m</span>
              <span style="transition-delay: 100ms">a</span>
              <span style="transition-delay: 150ms">i</span>
              <span style="transition-delay: 200ms">l</span>
        </label> -->
        </div>

        <div class="form-control">
          <input type="password" required>
          <label>Password</label>
        </div>

        <button class="btn">Login</button>

        <p class="text">Don't have an account? <a href="#">Register</a> </p>
      </form>
    </div>
    <script src="script.js"></script>
  </body>
</html>
After pasting the HTML code, Now have to create a second CSS file with the named style.css. Paste the below code on it and save it. Again remember to give .css extension to CSS file.
@import url('https://fonts.googleapis.com/css?family=Muli&display=swap');

* {
  box-sizing: border-box;
}

body {
  background-color: steelblue;
  color: #fff;
  font-family: 'Muli', sans-serif;
  display: flex;
  flex-direction: column;
  align-items: center;
  justify-content: center;
  height: 100vh;
  overflow: hidden;
  margin: 0;
}

.container {
  background-color: rgba(0, 0, 0, 0.4);
  padding: 20px 40px;
  border-radius: 5px;
}

.container h1 {
  text-align: center;
  margin-bottom: 30px;
}

.container a {
  text-decoration: none;
  color: lightblue;
}

.btn {
  cursor: pointer;
  display: inline-block;
  width: 100%;
  background: lightblue;
  padding: 15px;
  font-family: inherit;
  font-size: 16px;
  border: 0;
  border-radius: 5px;
}

.btn:focus {
  outline: 0;
}

.btn:active {
  transform: scale(0.98);
}

.text {
  margin-top: 30px;
}

.form-control {
  position: relative;
  margin: 20px 0 40px;
  width: 300px;
}

.form-control input {
  background-color: transparent;
  border: 0;
  border-bottom: 2px #fff solid;
  display: block;
  width: 100%;
  padding: 15px 0;
  font-size: 18px;
  color: #fff;
}

.form-control input:focus,
.form-control input:valid {
  outline: 0;
  border-bottom-color: lightblue;
}

.form-control label {
  position: absolute;
  top: 15px;
  left: 0;
  pointer-events: none;
}

.form-control label span {
  display: inline-block;
  font-size: 18px;
  min-width: 5px;
  transition: 0.3s cubic-bezier(0.68, -0.55, 0.265, 1.55);
}

.form-control input:focus + label span,
.form-control input:valid + label span {
  color: lightblue;
  transform: translateY(-30px);
}
At last, you have to create a Javascript file with the named script.js and paste the Js code on it and save it again don’t forget to give the .js extension to the Javascript file.
const labels = document.querySelectorAll('.form-control label')

labels.forEach(label => {
    label.innerHTML = label.innerText
        .split('')
        .map((letter, idx) => `<span style="transition-delay:${idx * 50}ms">${letter}</span>`)
        .join('')
})
That’s all after pasting the code now your code will be successfully run. If you get any kind of error/problem in the code just comment down or contact me
One Comment